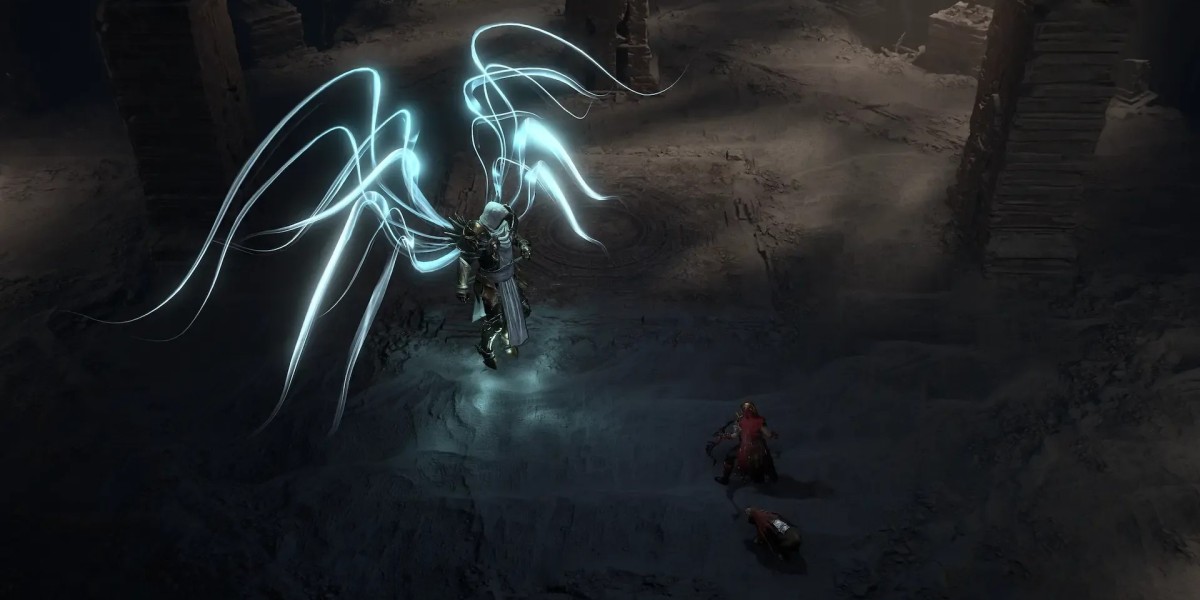

The repeatable endgame encounter with Astaroth takes place in Astaroth's Lair, but getting there means clearing a linked dungeon route first. You'll need an Escalation Sigil and a run set to Torment I or higher. The sigil chooses the opening Nightmare Dungeon; after each clear, take the portal to continue. It's worth checking your gear and supplies before you start, since a useful set of D4 items can make the later stages less punishing. Astaroth's Act II story fight is separate, so campaign progress won't take you to this lair.
Getting the Sigil and Starting the Route
One way to find an Escalation Sigil is to complete a Horadric Strongroom inside a Nightmare Dungeon. Beat its encounter and boss, then check the Grand Horadric Cache; the sigil is a possible reward, not a guaranteed one. You can also use the Horadric Cube to turn five Nightmare Dungeon Sigils into an Escalation Sigil. Check the items in the cube before confirming, because those five sigils will be used. Season 9 had a reputation-track reward as well, but that was tied to the season and isn't a requirement for the current route.
Clearing the Chain
Pick a Torment level you can handle without relying on perfect play, activate the sigil, and finish the first dungeon's objectives and boss. Then take the portal. Read the next dungeon's affixes before you enter; effects build across the route and can make the last stretch noticeably harder. Clear the second dungeon and continue through its portal, then do the same for the third. Astaroth's Lair follows that final clear. Below Torment, the chain won't lead to the endgame boss, so check the difficulty before spending your sigil. Keep healing and a defensive skill ready, especially if the affixes make movement or recovery difficult.
Reading the Fight
Preparing for the Amalgam
Astaroth starts mounted on the Amalgam, then fights on foot before the hound returns for the final phase. During the mounted section, work around the hound's side rather than standing in front of its fire attack or Astaroth's staff swing. When it leaps, leave the smoky landing mark. Move out of red ground markers before fire falls, and give the drifting orb space; letting it reach you can leave a damaging pool in a tight spot. On foot, keep an escape route open. Dodge the straight fire trails from Astaroth's charge and avoid getting boxed in by the flame wave near the arena's edge. When both enemies are active, watch the hound as well as the boss. It can return after falling, so don't assume the pressure is over. Area damage helps, but staying in a hazard to hit both targets usually isn't worth it.
Build Choices and Missing Boss Checks
Fire resistance, reliable damage, and mobility matter more than a build that only works while standing still. Melee characters can strike from the hound's side and save an evade for overlapping attacks. Ranged characters should keep moving between casts. Crowd control may build Astaroth's stagger meter and open a damage window. The boss can drop Ancestral gear, class-specific Uniques, and Mythic Uniques, though no particular item is assured. If Astaroth doesn't appear, check that you used an Escalation Sigil, started on Torment I or higher, cleared every objective and boss, and took each portal. Belial's Hoard is another way to pursue items from Astaroth's reward pool: after defeating Belial in the Palace of the Deceiver, a Superior Lair Key lets you open the Hoard and choose a pool. That option may suit you better when the item matters more than the fight, and planning your buy D4 Gold budget around repeated attempts can help keep the run manageable.



Populære opslag